
II.A. ChimeraX Changing Color and Representation (Alternative Renderings)
Walter Novak and Josh Beckham
Overview: This chapter shows how to change the representation (rendering) of a protein in ChimeraX.
Outcome: The user will be able to select a particular rendering for a purposeful display of a protein.
Time to complete: 5–10 minutes
Modeling Skills
- Loading structure
- Alternative Renderings
- Saving files
About the Model
PDB ID: 1XWW
Protein: Low molecular weight protein tyrosine phosphatase
Activity: hydrolyzes Tyr-OPO32- phosphoester bond
Description: single chain, bound SO42- competitive inhibitor, bound glycerol (nonspecific stabilizer)
Steps
Load Structure
- Open ChimeraX by clicking on the application.
-
In the command line, type: open 1XWW
NOTE: Default view is ribbon (cartoon) with black background, small molecules shown as sticks (in this case, sulfate and glycerol as sticks), and side chains of residues near the small molecules as sticks also. Water molecules near the small molecules are shown as red dots.
Alternative Renderings
- Change colors
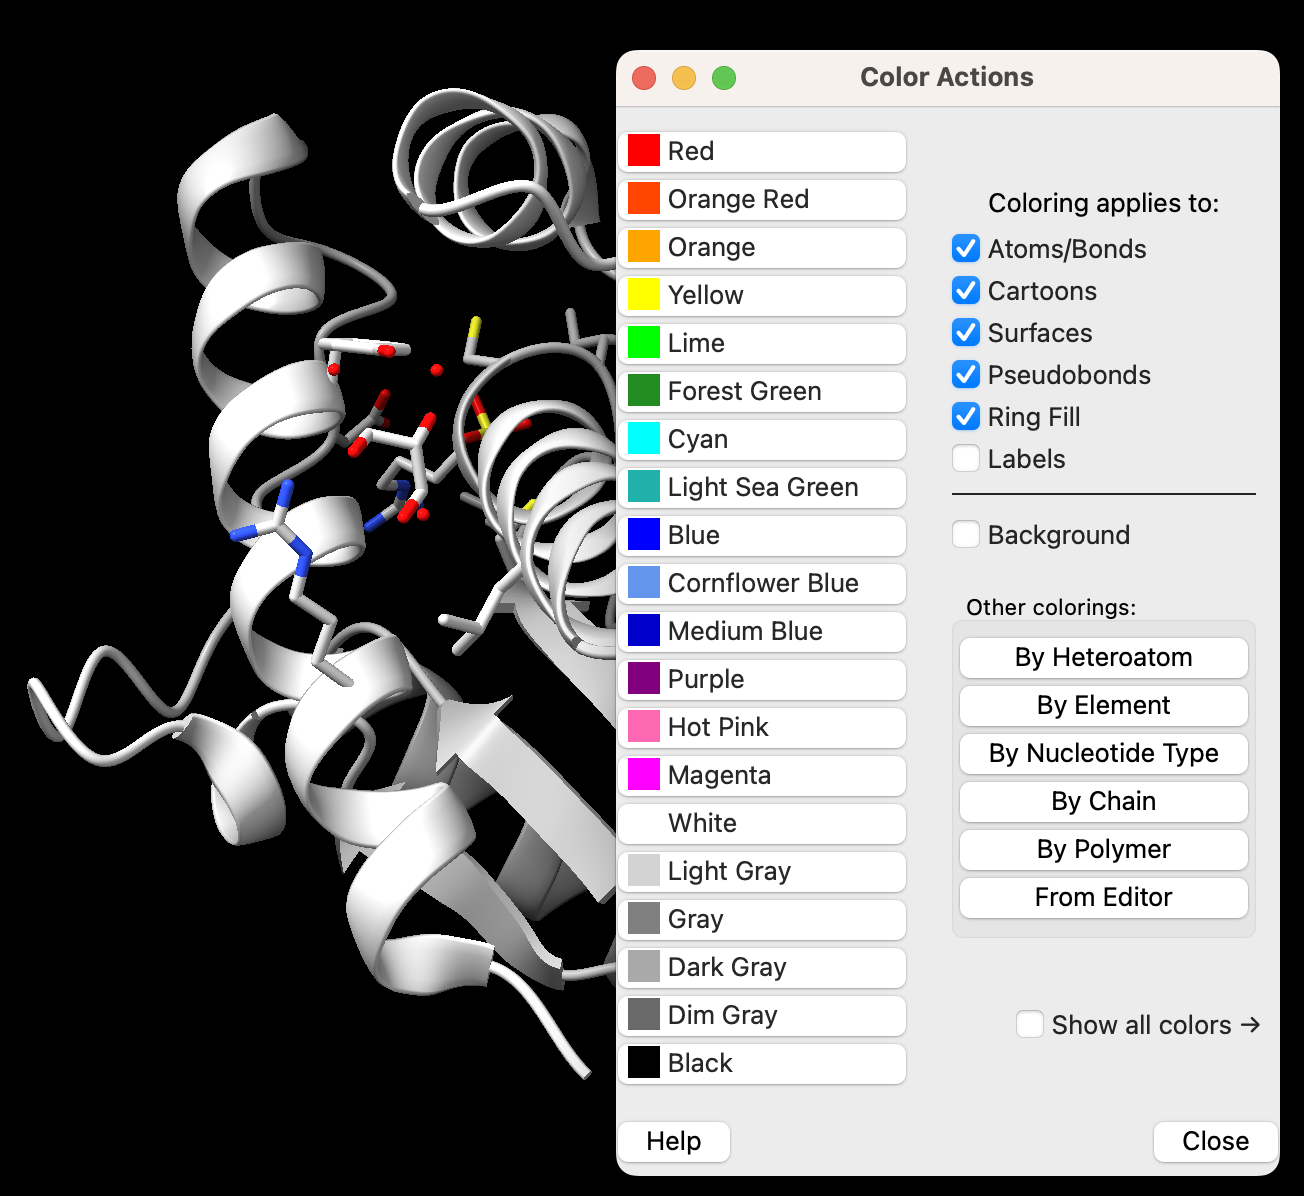
a) Click “Actions” → Color → All Options to open the “Color Actions” popup window (Figure 1).
b) Change the color of your molecule to a different color by clicking on a color in the “Color Actions” window.
c) Click on “By Heteroatom” to change displayed atoms to CPK coloring (the main chain color will stay the same but the heteroatoms will change).
d) Click “Close” to close the “Color Actions” window.
- Change representation
a) The Home toolbar should already be selected at the top of the page. If not, click “Home” (Figure 2).
b) ChimeraX automatically renders residues near bound molecules atomically (they are shown as sticks in the default display.) Clear the automatic view by clicking “Hide” in the “Atoms” toolbar.
c) Now, show the atoms globally by clicking “Show” in the “Atoms” toolbar.
d) Hide the cartoon by clicking “Hide” in the “Cartoon” toolbar.
e) In the “Styles” toolbar, click each of the renderings: “Stick”, “Sphere”, and “Ball stick.”

- Using predefined views
a) In the “Presets” dropdown menu, explore views presented (from “Ribbons/Slabs” to “Interactive”).
b) In the toolbar selector, click “Molecule Display.”
c) Within the Molecule Display toolbar, click “Surfaces” and “Hide” to remove the surface rendering for the next steps.
d) In the Molecule Display toolbar, click on the “Coloring” buttons to display different coloring schemes (from “Nucleotide” [not applicable here] to “B-factor”).
e) Again, click on “Surfaces” and “Hide” to remove the surface rendering for the next steps.
- To color secondary structure separately, use the dropdown menu: Select → Structure → Secondary Structure → Strand. Then choose a color from the Action”→ Color window.
- Deselect the strand in the dropdown menu: Select → Clear.
- (Optional) Save your CSX session file and save a PNG of your favorite rendering (review on saving files below).
- Close the session by clicking the X in the corner or use the dropdown menu: File → Close session.
Save Files
- Save a ChimeraX session file: Go to “File” → Save. Select a directory. Ensure the file type is set to “ChimeraX session (*.CXS)” Type a filename in the box and click “Save.”
- Save a PNG image: Go to “File” → Save. Ensure the file type is set to “PNG image (*png).” Type a filename in the box and click “Save.”
Jump to the next ChimeraX tutorial: III.A. ChimeraX Molecular Surface/Properties.